

Give Each Heater Cover a Name
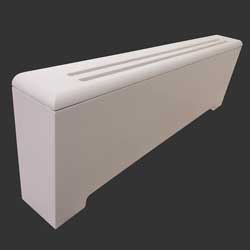
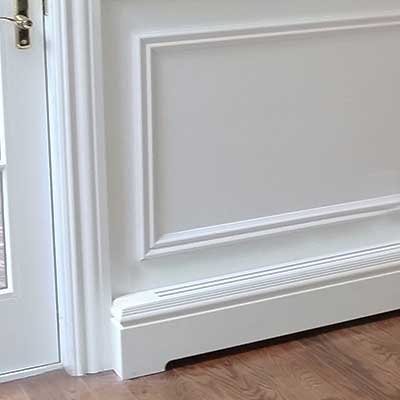
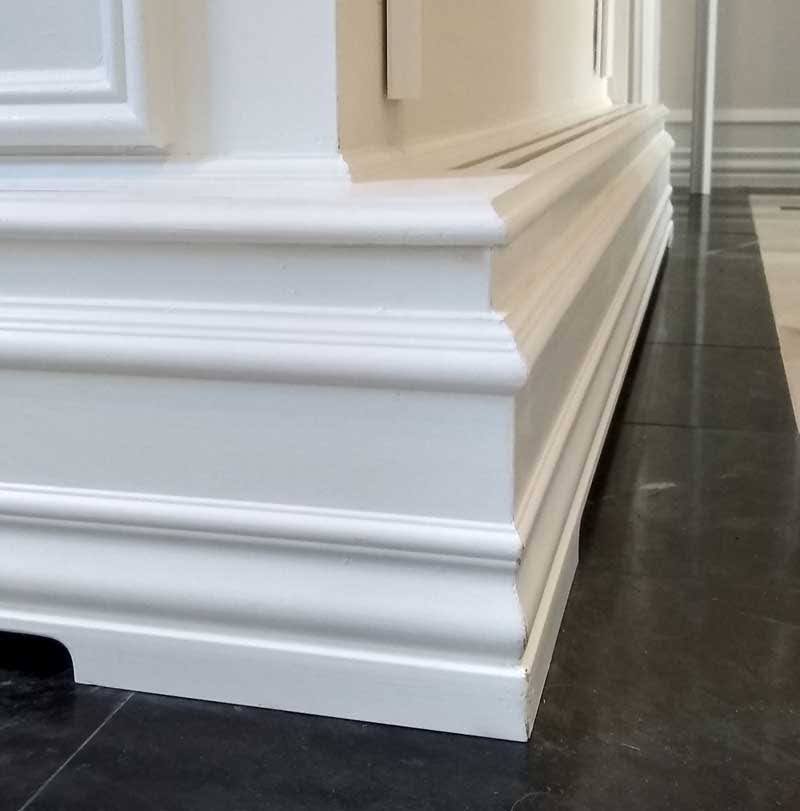
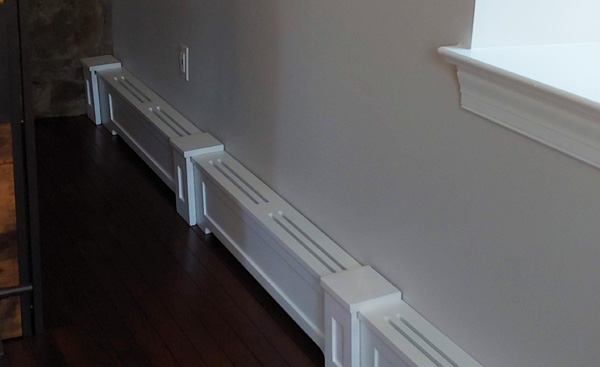
What style cover do you want?
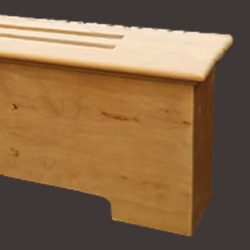
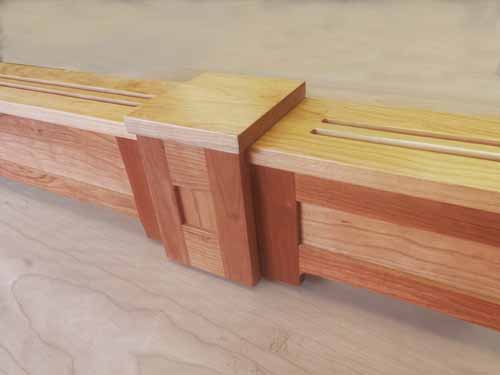
what material do you want?
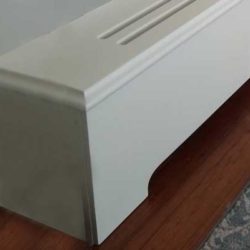
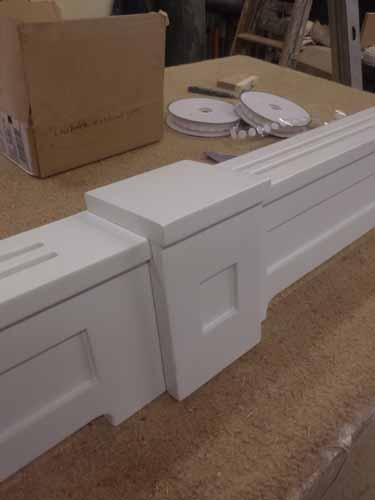
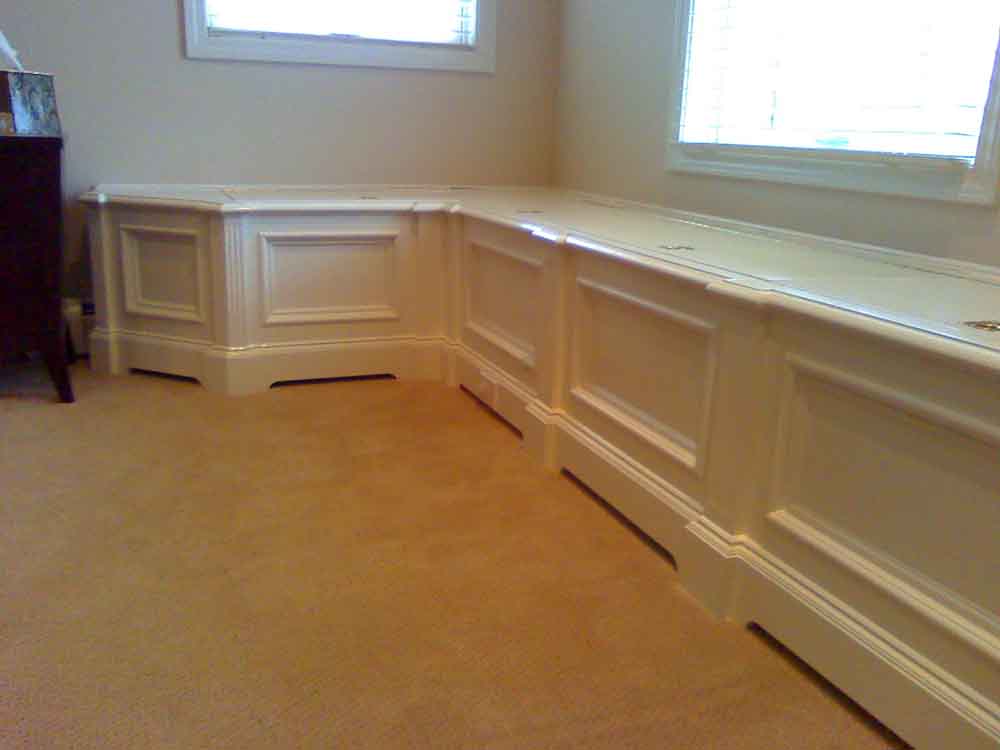
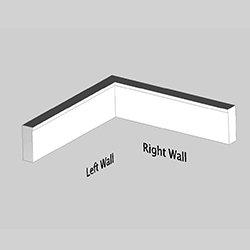
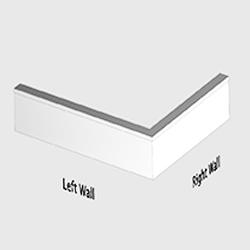
detail on right and left end
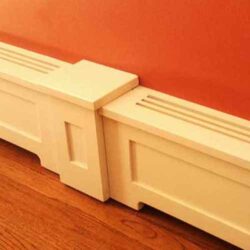
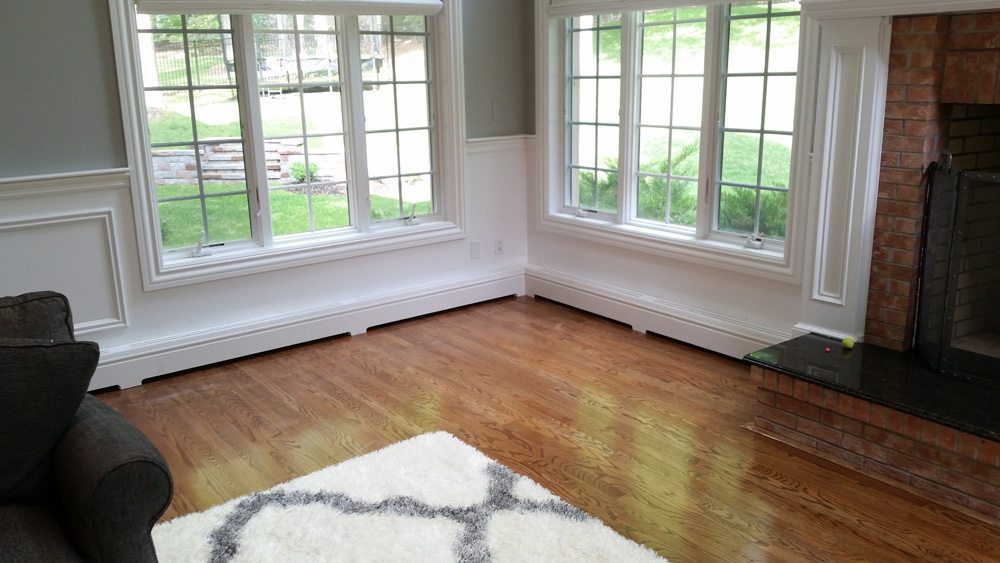
how are your walls laid out?
Length of new heater covers

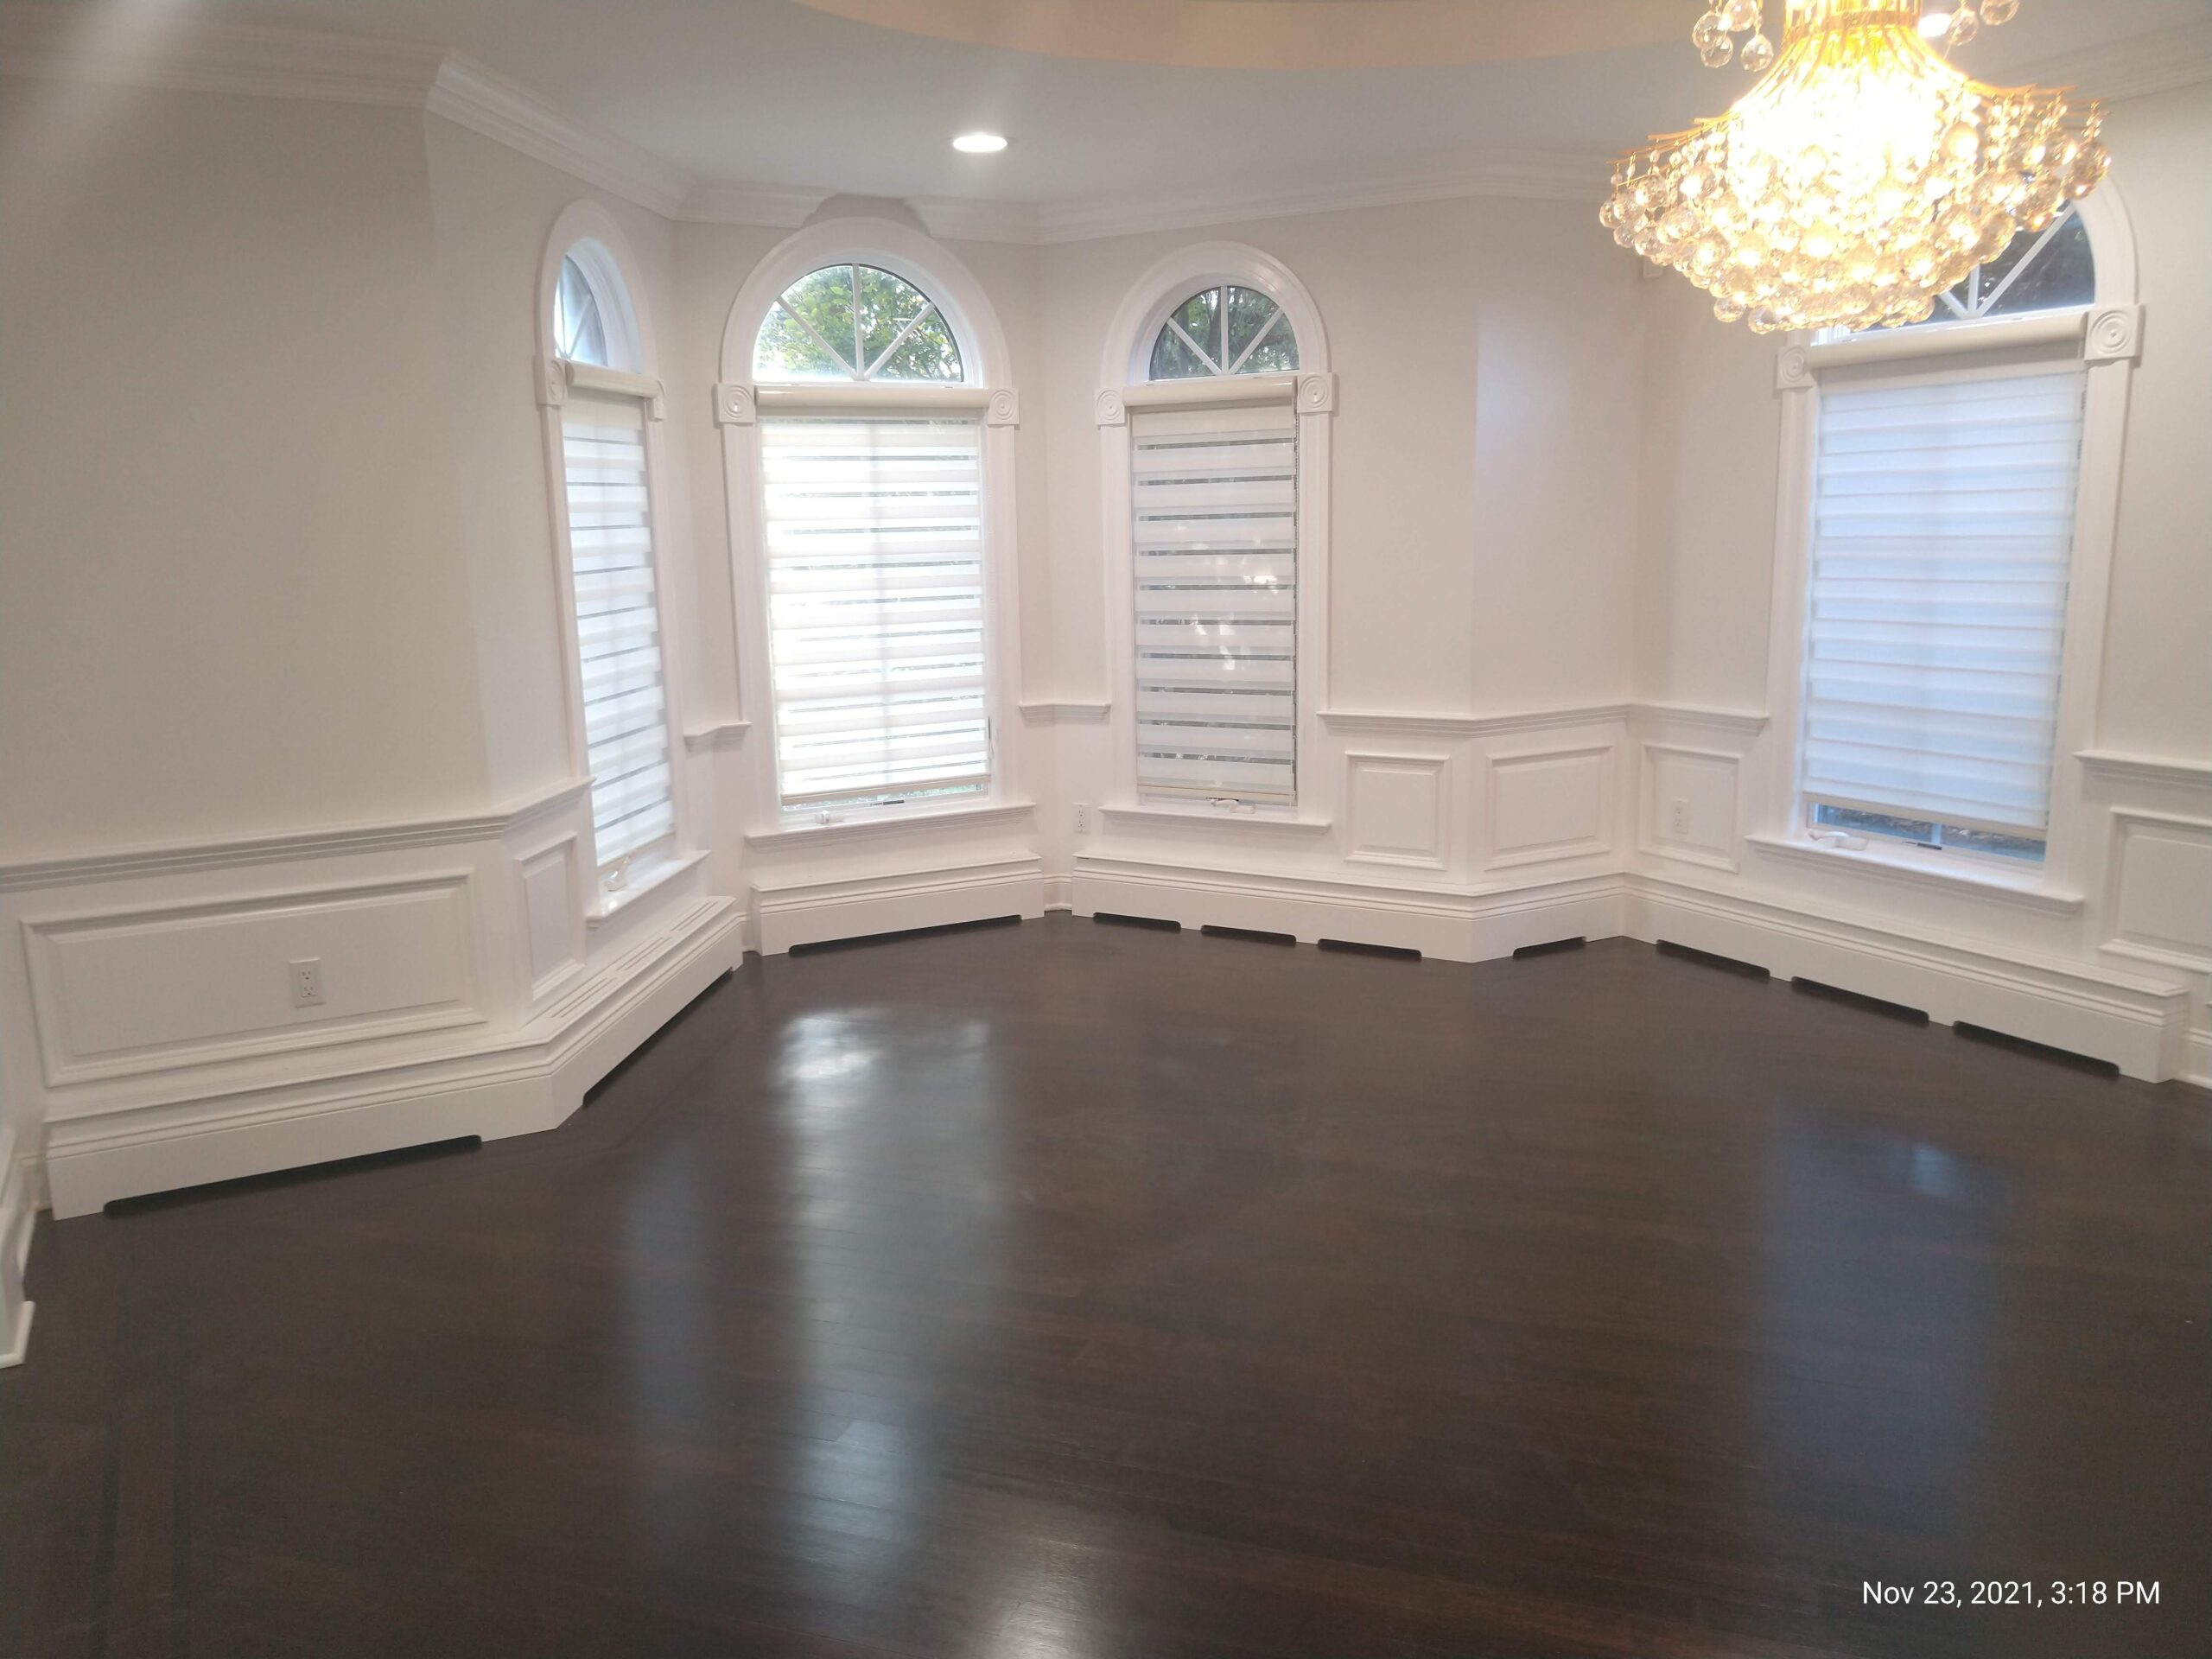
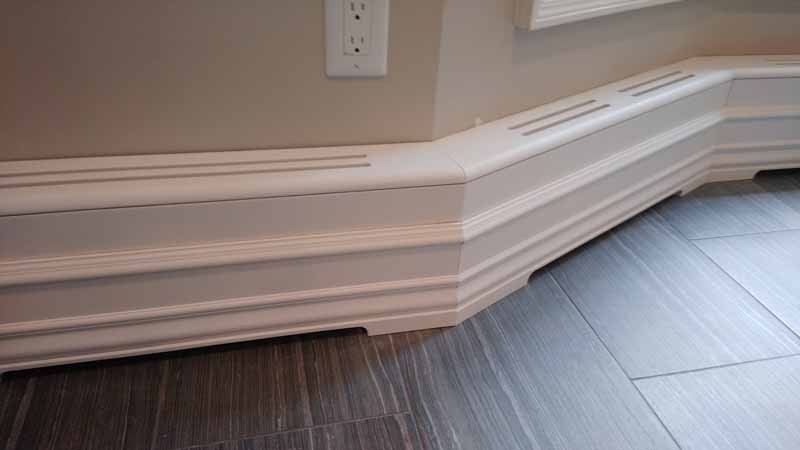
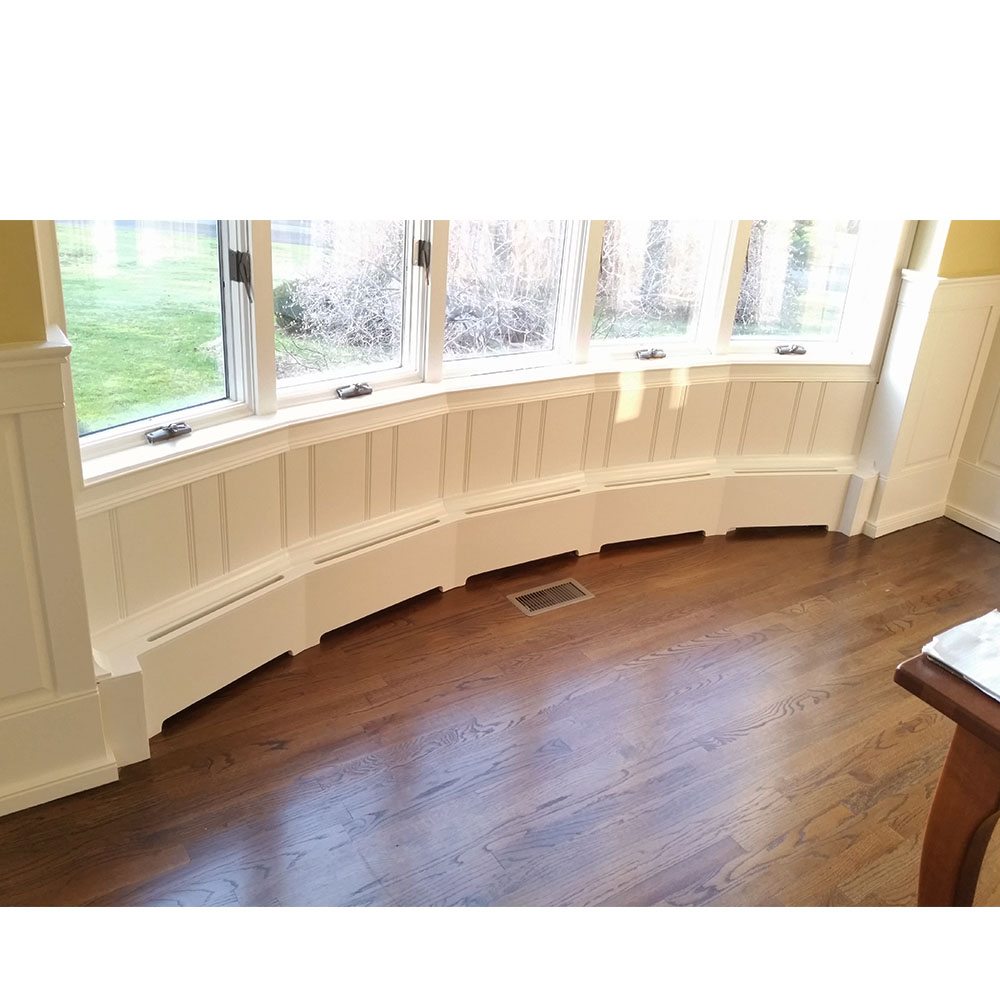
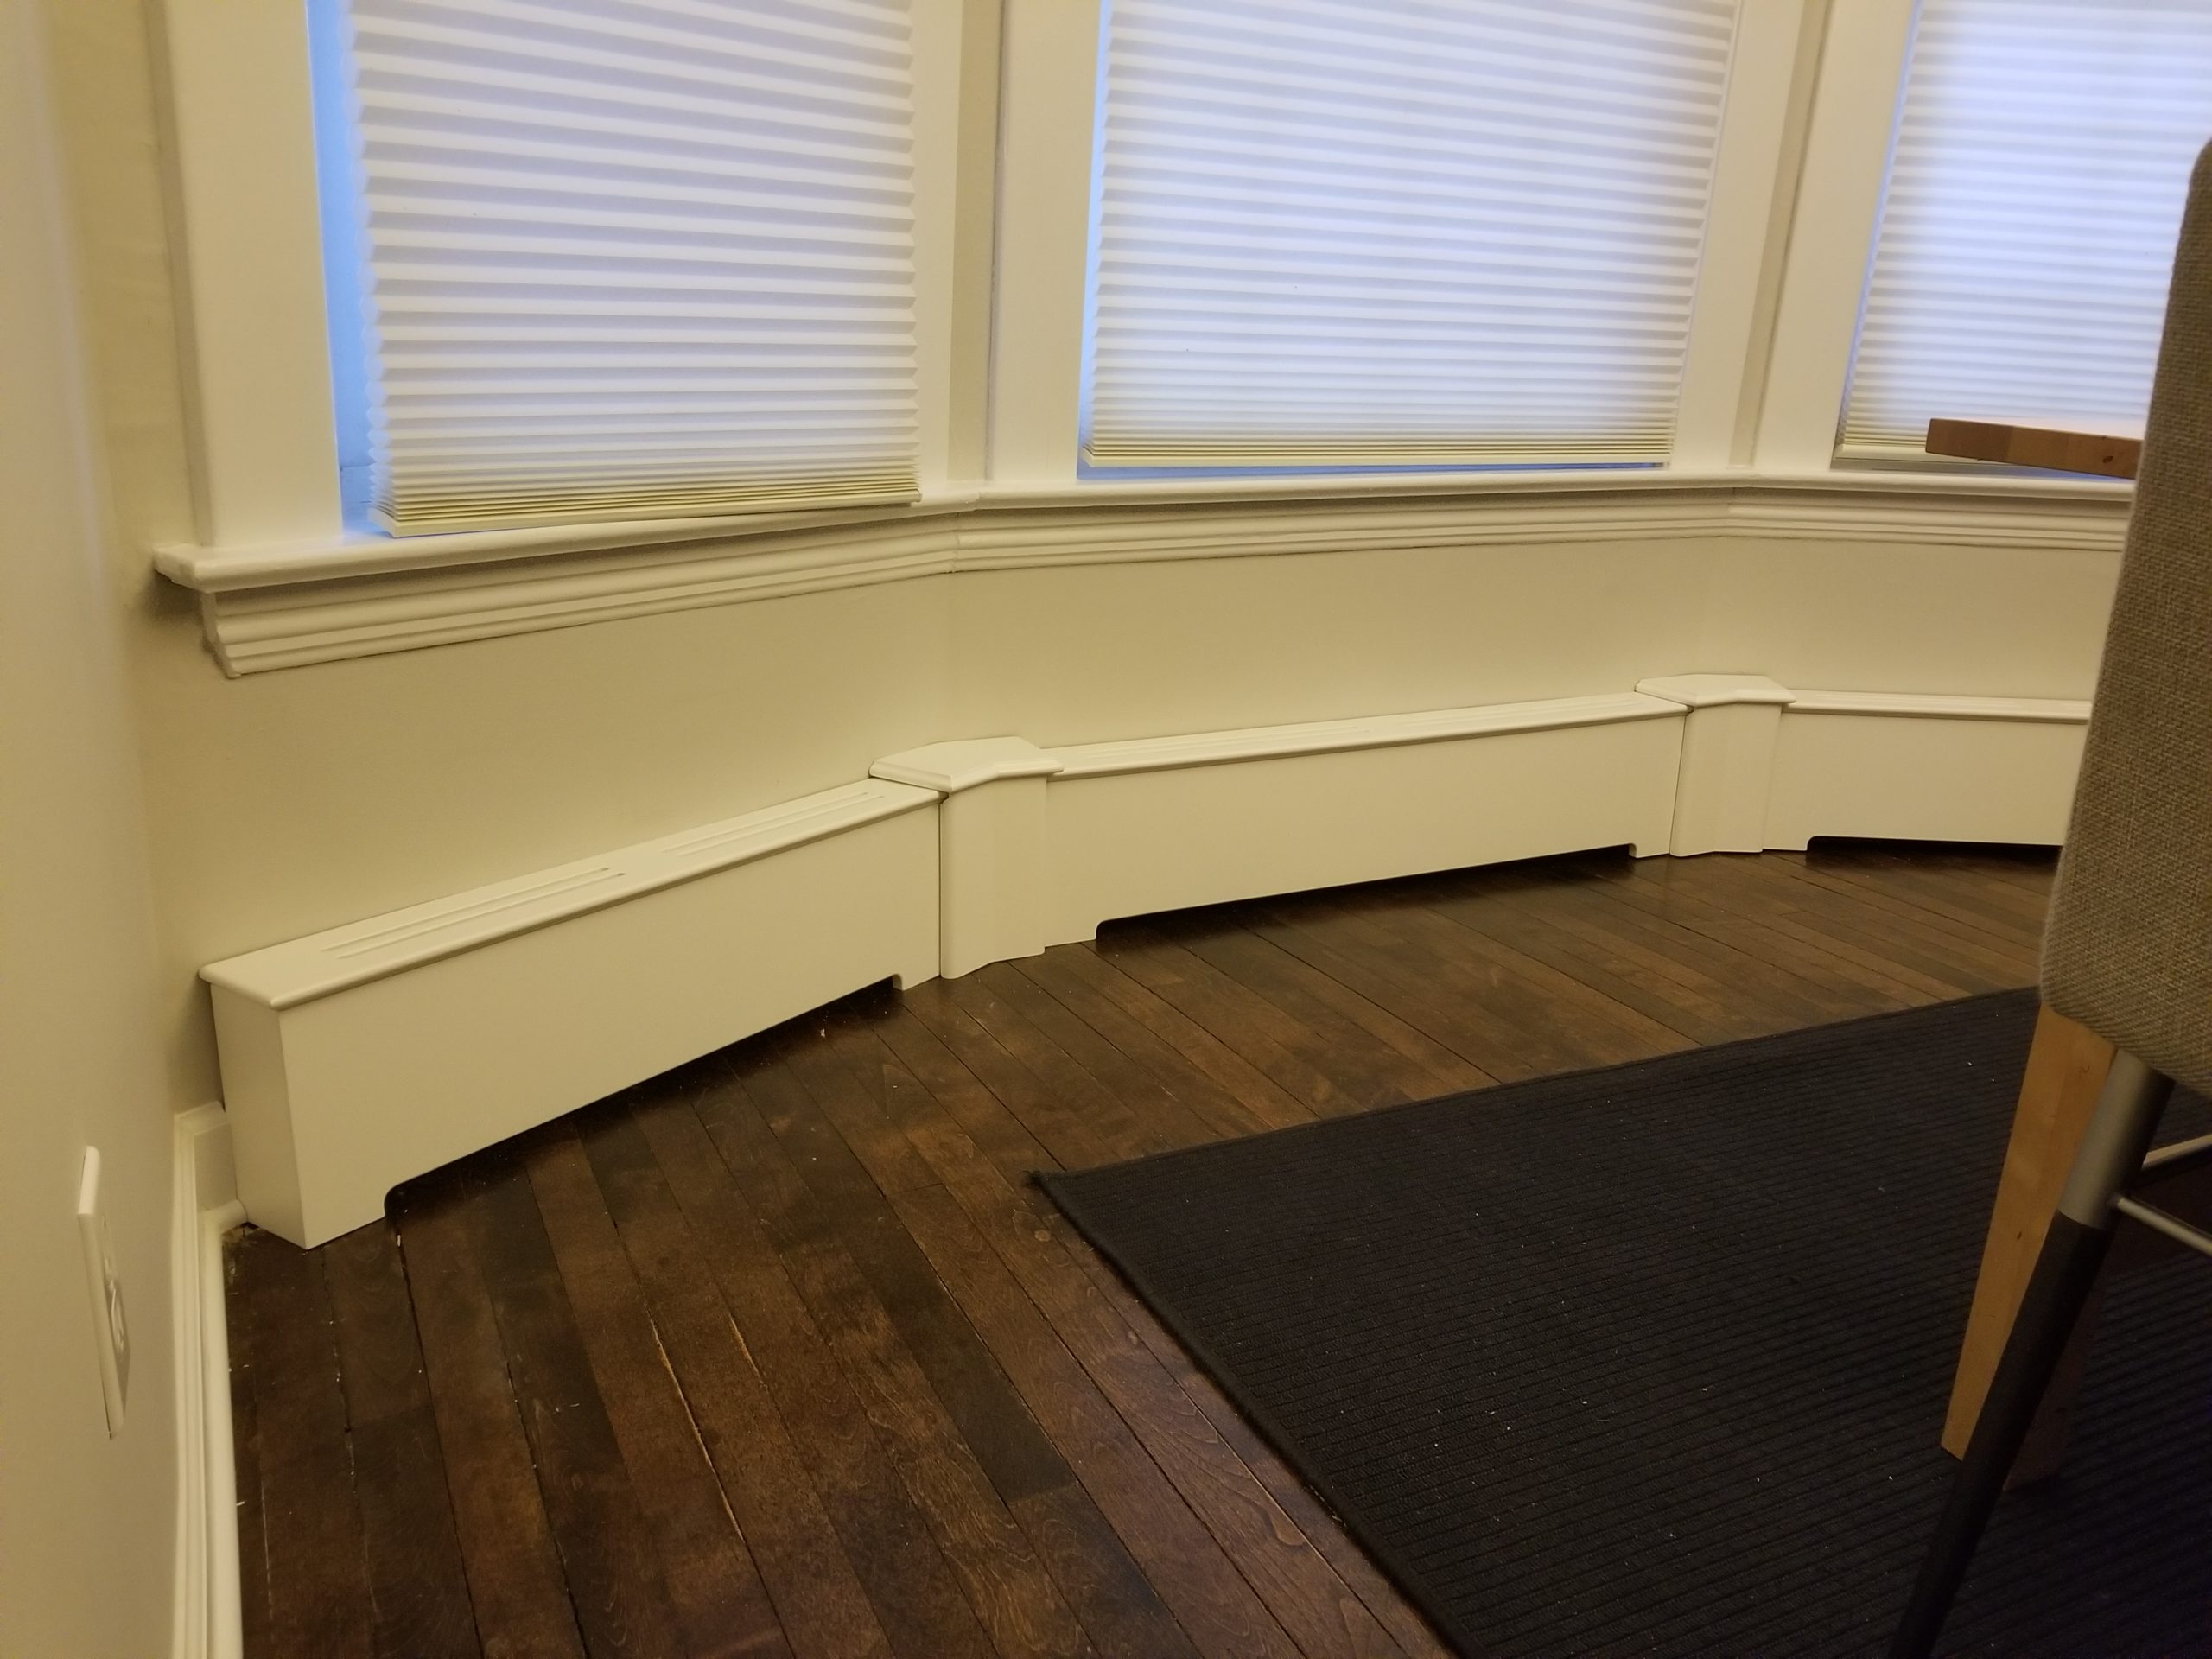
measuring for covers that go around corners
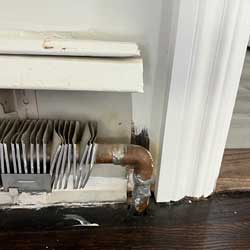

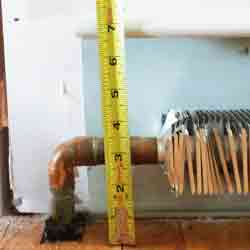
How tall should the heater cover be?
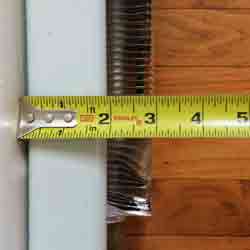
how deep should the heater cover be?
bay windows

completing your order
ordering more than one heater cover
delivery or pick up?
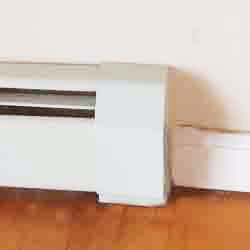
Thank you, thank you, thank you!

Hi Tom, Thank you, thank you, thank you!
it fits perfect and is also beautiful if that’s possible for a baseboard lol. I have been trying to post on your website I’ll try with Google but I really appreciate all your help One day would love to replace all my baseboards and I’ll be giving you a call! Thank you Be safe!
Ina
Birkbeck
Staten Island
NY